I downloaded the 64-bit version of Ubuntu 20.04 and VMWare Workstation Player 16. I have installed VMWare on Windows (7, 8, 10, 11) and Ubuntu (14.04, 16.04, 18.04, 20.04) using both Ubuntu Server and Ubuntu Desktop.
The steps to install Ubuntu onto a VMWare virtual machine are pretty much identical between both operating systems, and regardless of whether you use the Desktop or Server version of Ubuntu.
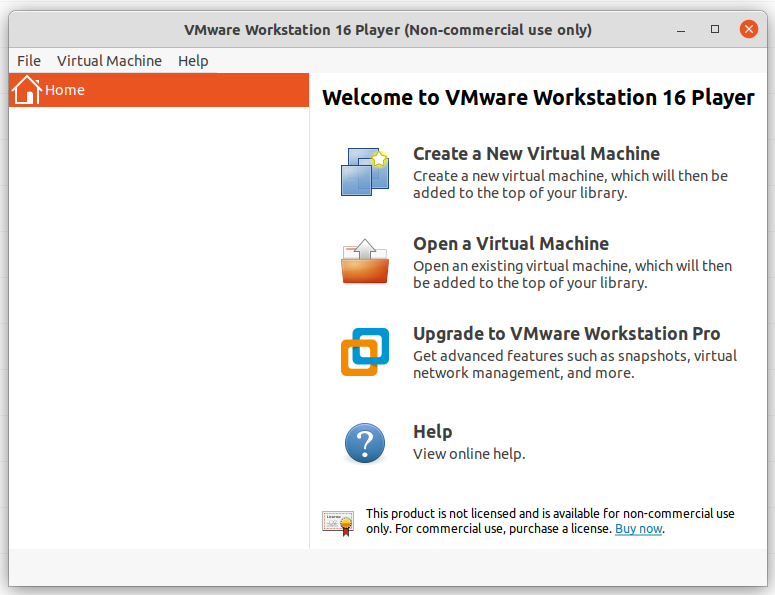
Installing Ubuntu into a Virtual Machine using VMWare:
Creating a new Virtual Machine (VM) and installing an Operating System (OS) is done using the VMWare Virtual Machine creation wizard. After VMWare is installed, open it and click Create a New Virtual Machine.
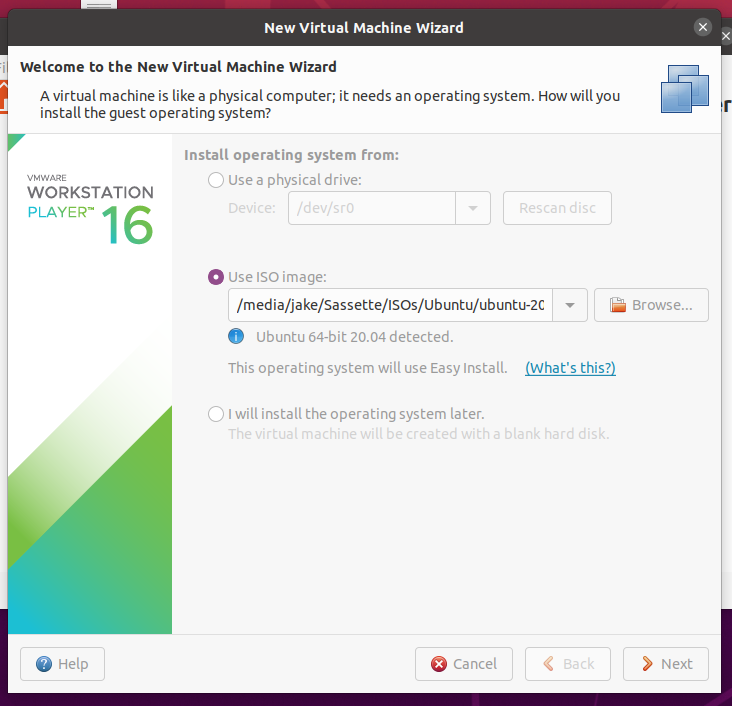
Step 1. Click on Create a New Virtual Machine
Step 2: Browse to and select the Ubuntu ISO file you downloaded and then click Next
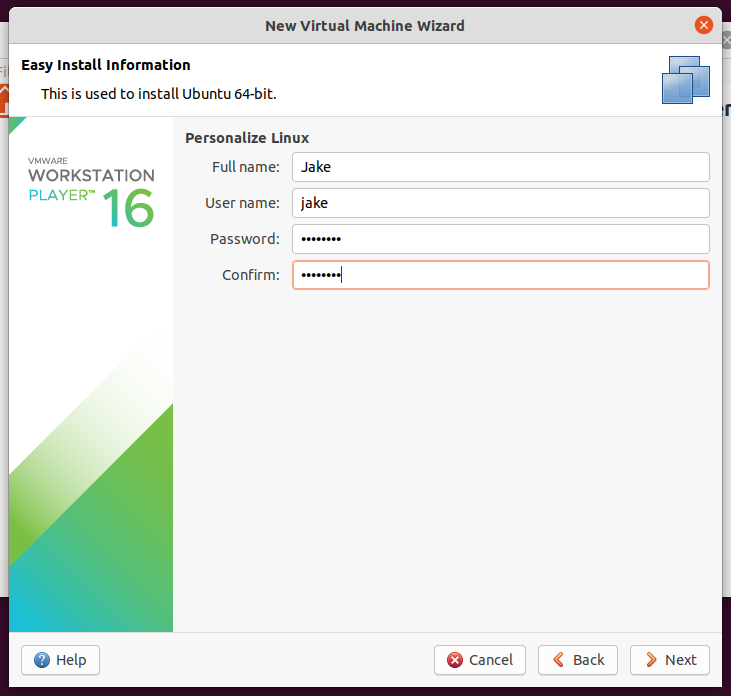
Step 3: Enter your details and click Next
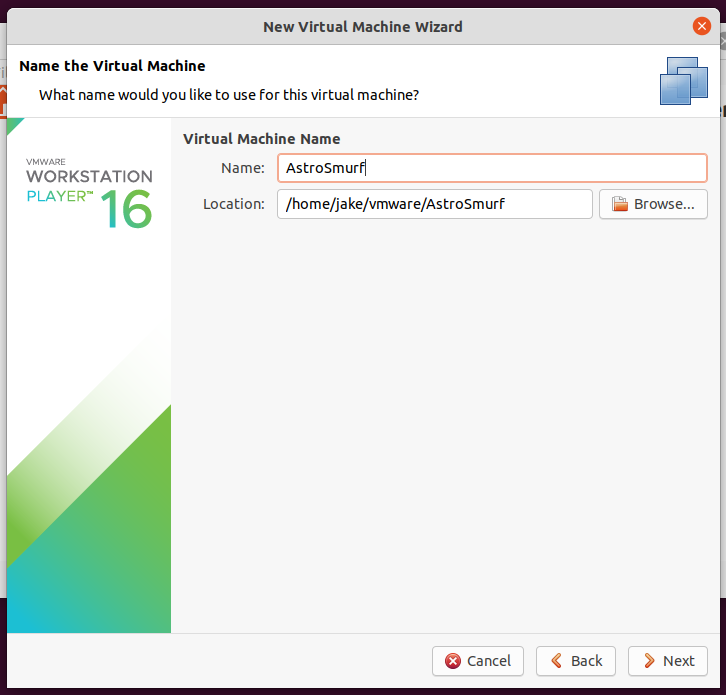
Step 4: Give the file a descriptive name, change its location (if needed) and click Next
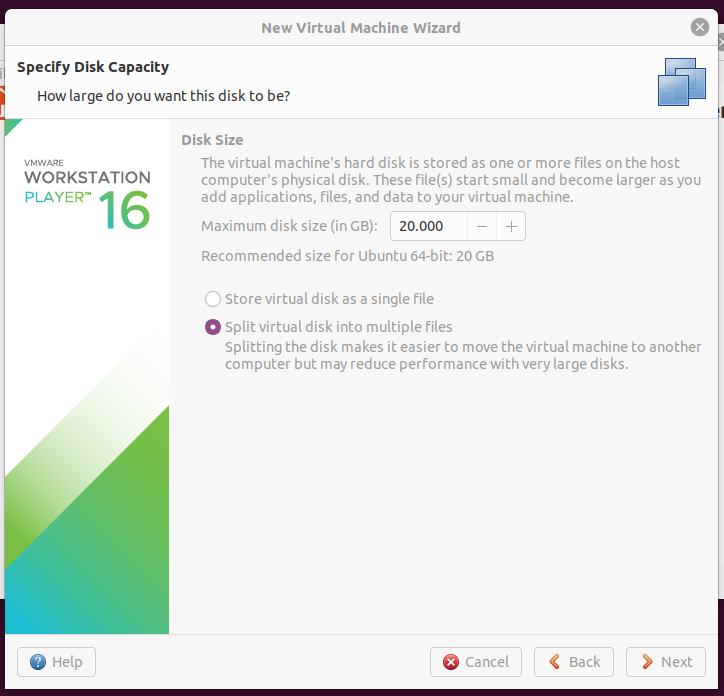
Step 5: If you feel the need to change disk size, do so. I always use the defaults and click Next
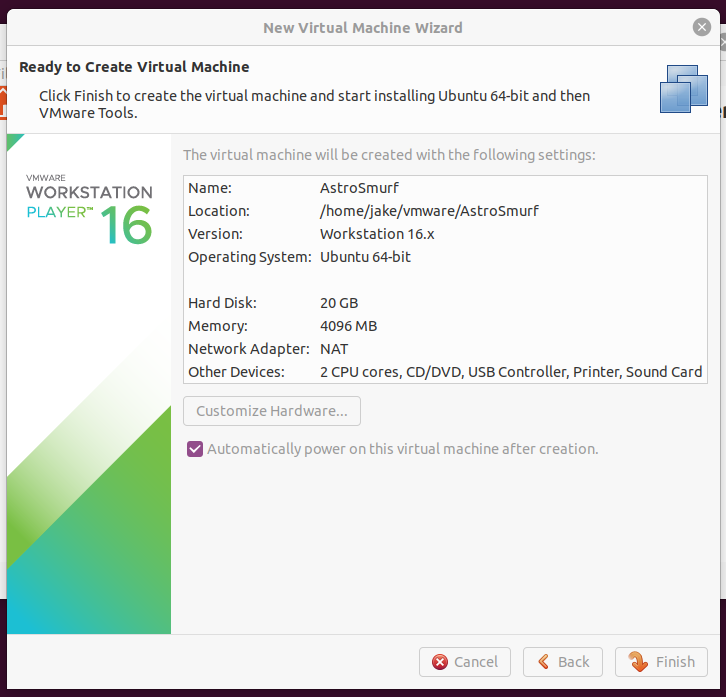
Step 6: Verify the information is correct and click the Finish button
Step 7: Grab a coffee!
The Ubuntu installation takes anywhere from 5 to 60+ minutes to install, dependent upon the speed of your Internet connection (for downloading dependencies and updates) and your localhost’s computer specs.
When the installation is finished, you will be greeted with the login screen.
Troubleshooting:
I dealt with two errors installing onto my machine.
Didn’t capture the error messages for here but below are the two fixes:
This error will appear when you start a VM on a system that boots from UEFI with secure boot enabled. Hosts with secure boot enabled will not allow loading of any unsigned drivers. As a result, the
https://askubuntu.com/a/1312350vmmonmodule is not loaded in the system and this is causing the error you see.
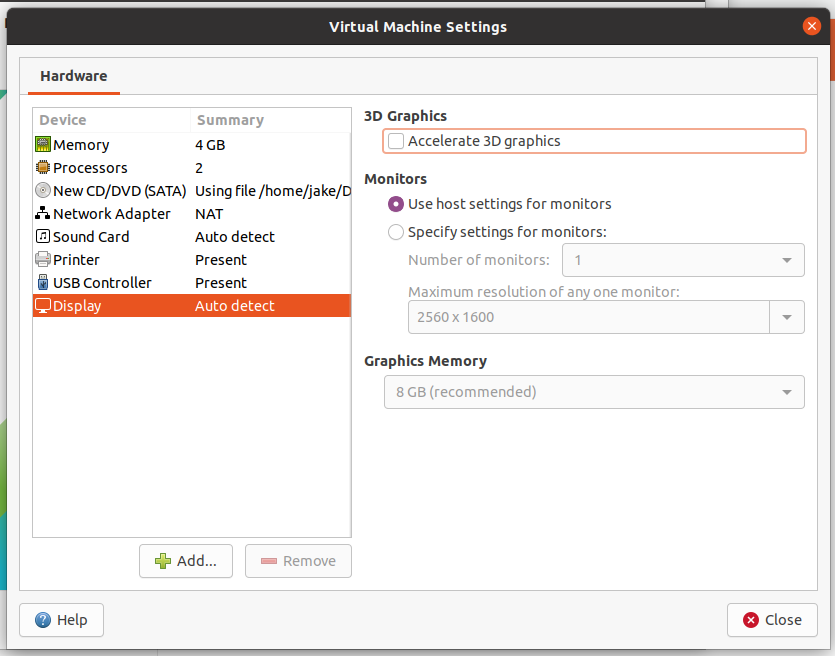
I had a similar problem and found that simply disabling “Accelerated 3D Graphics” in ((Virtual Machine Settings> Hardware> Display> 3D Graphics)) allowed me to avoid these crashes and specific errors.
https://communities.vmware.com/t5/VMware-Workstation-Pro/ISBRendererComm-Lost-connection-to-mksSandbox-and-MKS/m-p/2851119/highlight/true#M170233
If you are creating a new VM after discovering this problem, you can from the screen above alternatively can click the “Customize Hardware” button and under Display, 3D Graphics, click the checkbox next to Accelerate 3D graphics to disable it.
Notes:
The apt-get command-line tools:
apt-getis the command-line tool for handling packages, updating packages, and installing patches for Ubuntu Linuxsudo apt-get updatedownloads and updates the list of packages from their repositoriessudo apt-get upgradeinstalls the latest updates for your packages