Downloads and Docs
- Download Ubuntu Desktop
- KVM – Kernel Virtual Machine
- KVM Installation
- Virtual Machine Manager
- Ubuntu Virtual Machine Manager
KVM and Installing Virtual Machine Manager on Ubuntu:
Virtual Machine Manager can be located and installed from Ubuntu Software.
When you open as a normal application, you may be faced with an error similar to
Verify that the ‘libvirtd’ daemon is running.
I had to use this from the command-line for it to work:
sudo virt-managerInstalling Ubuntu into a Virtual Machine using Virtual Machine Manager:
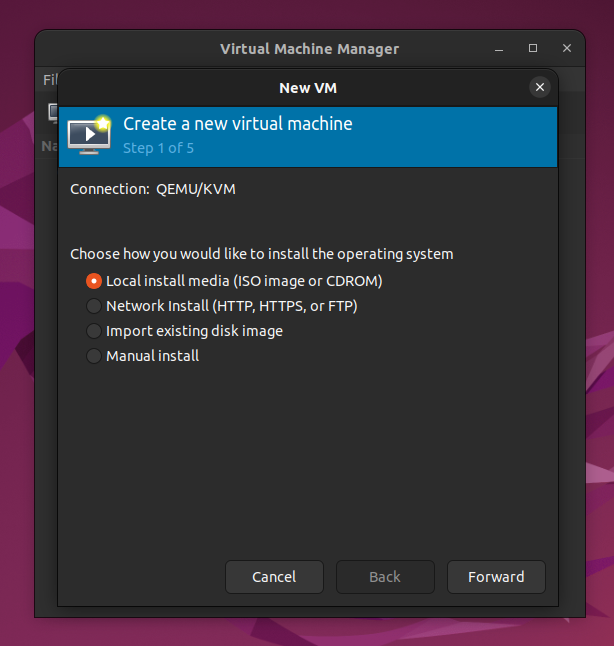
Creating a new Virtual Machine (VM) and installing an Operating System (OS) is done using the Virtual Machine Manager creation wizard. In Virtual Machine Manager, File, New Virtual Machine or click Create a new virtual machine.
Step 1. Click on Create a New Virtual Machine, Local install media, and then click Forward
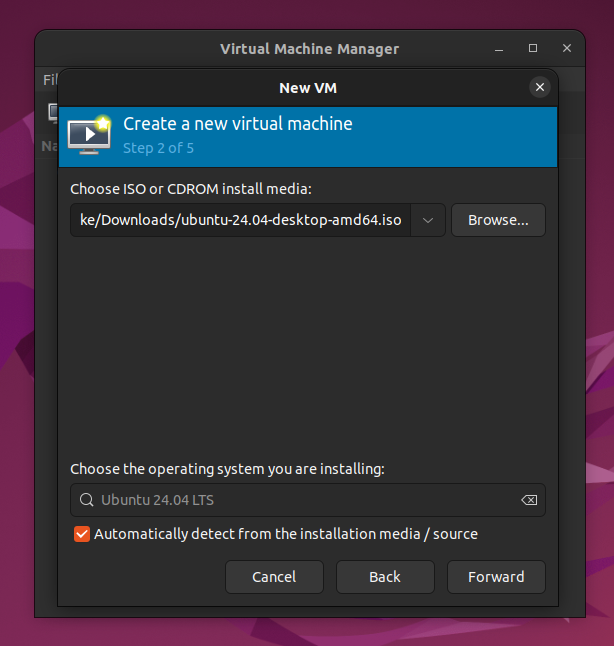
Step 2: Browse to and select the downloaded Ubuntu ISO and then click Forward
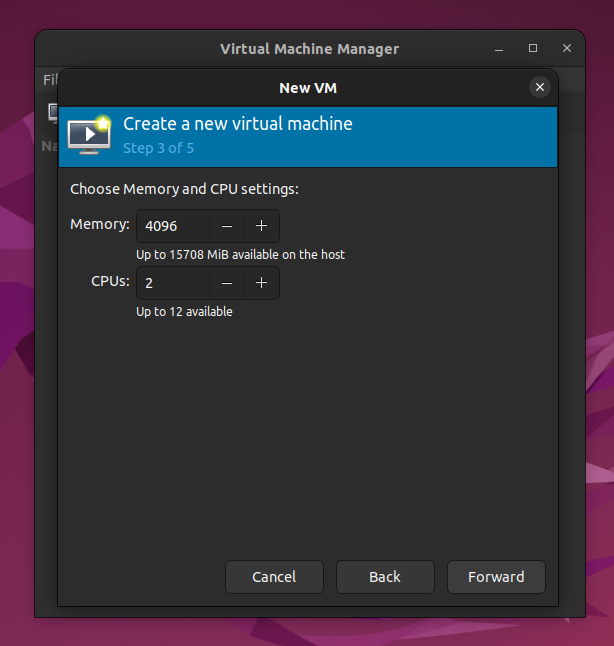
Step 3: Set Memory and CPUs settings and click Forward
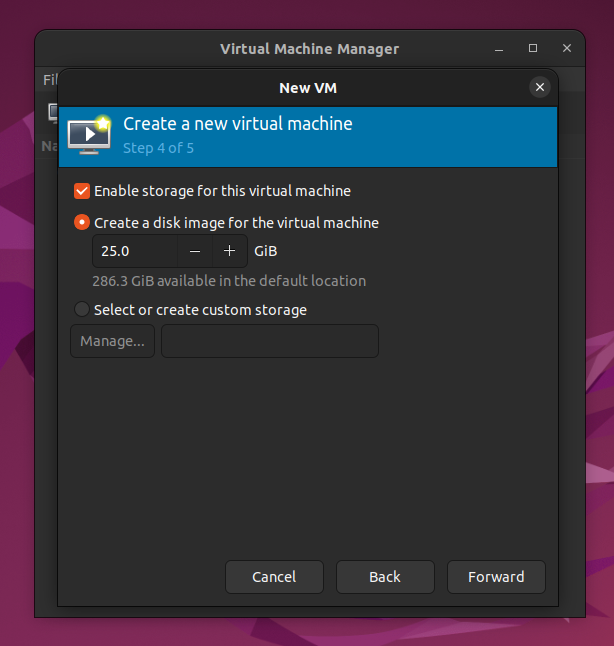
Step 4: Set Storage settings and click Forward
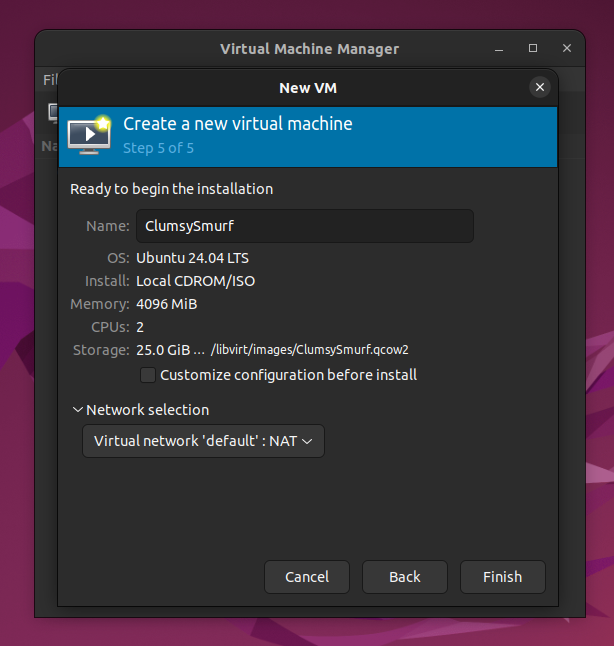
Step 5: Name the Virtual Machine, set Network and click Forward
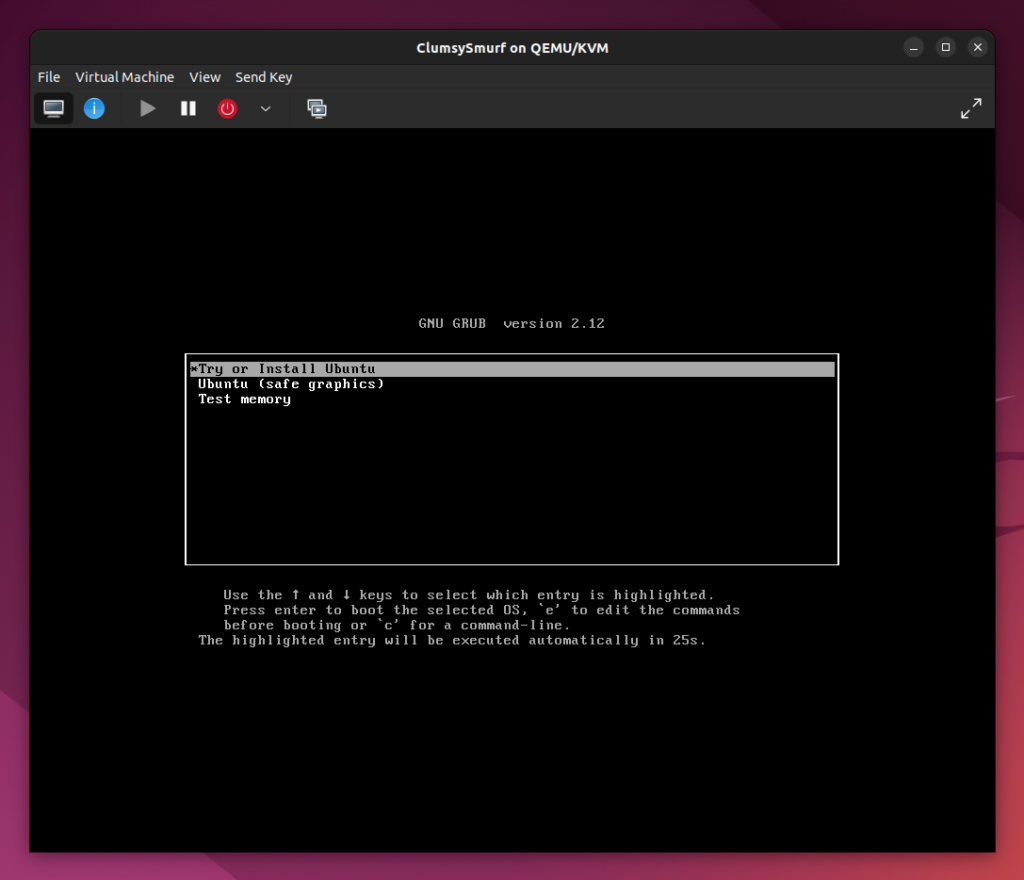
Step 6: Try of Install Ubuntu and hit Enter
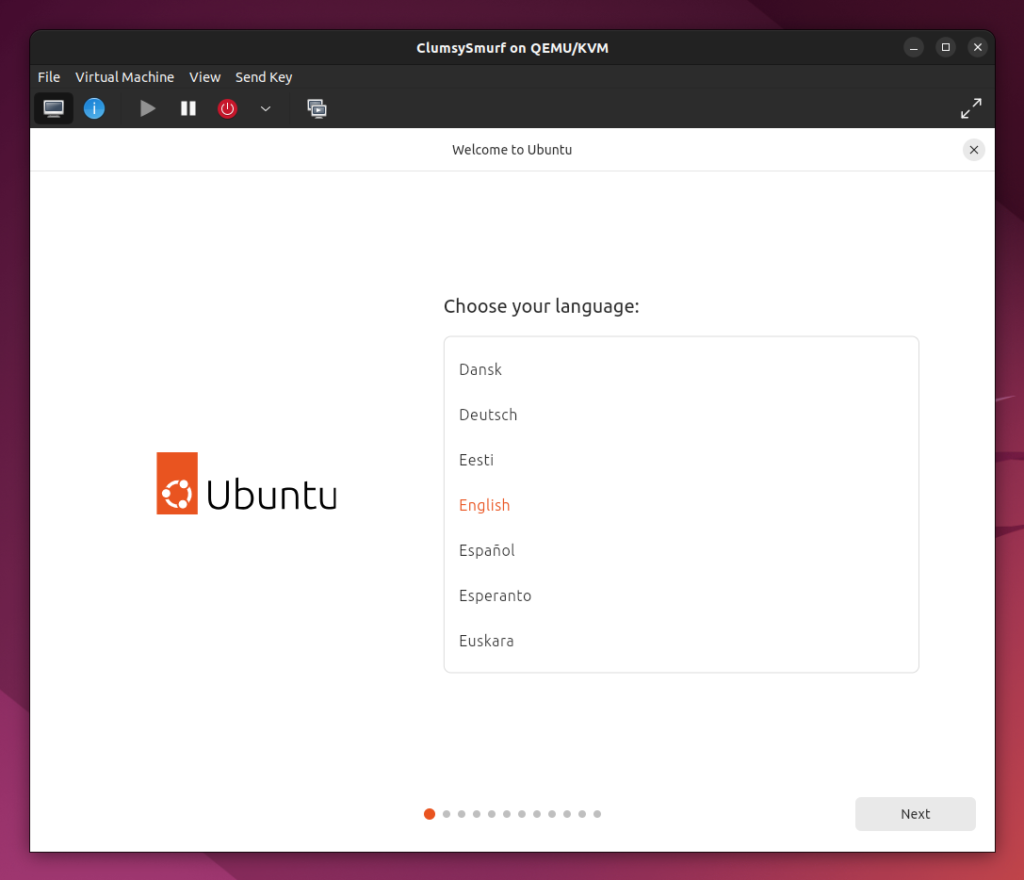
Step 7: Choose your language and click Next
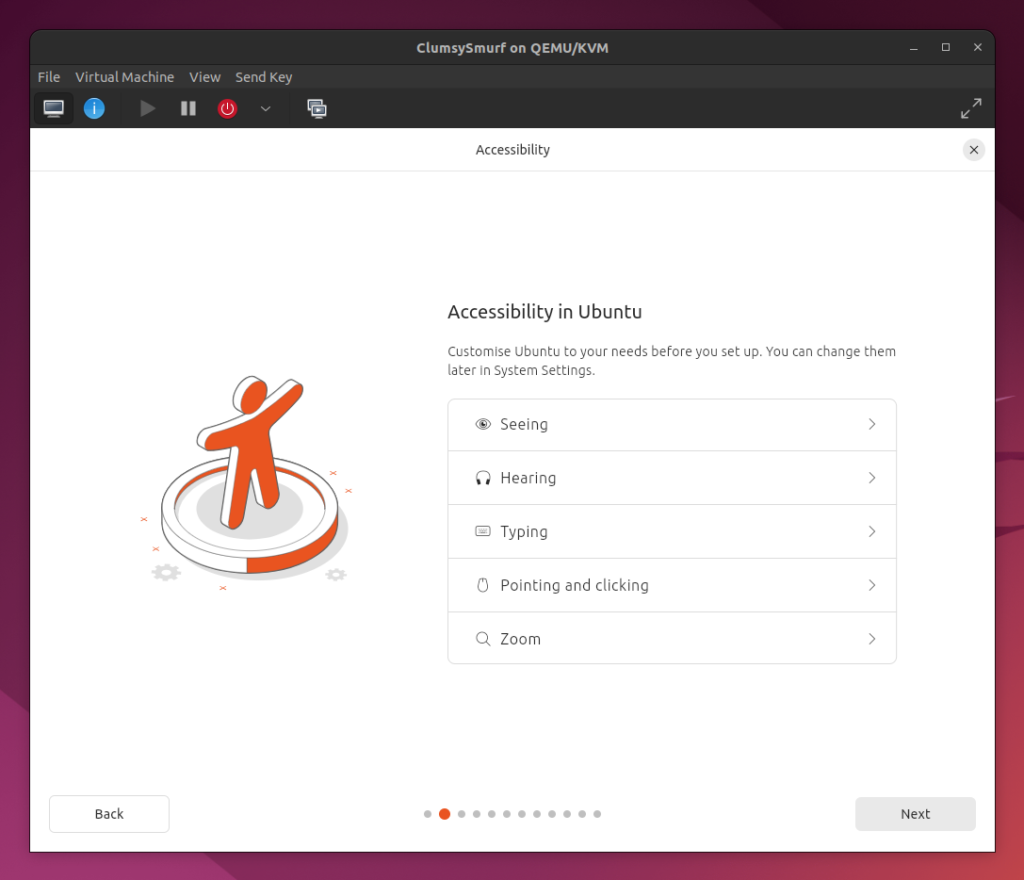
Step 8: Customize Accessibility in Ubuntu and click Next
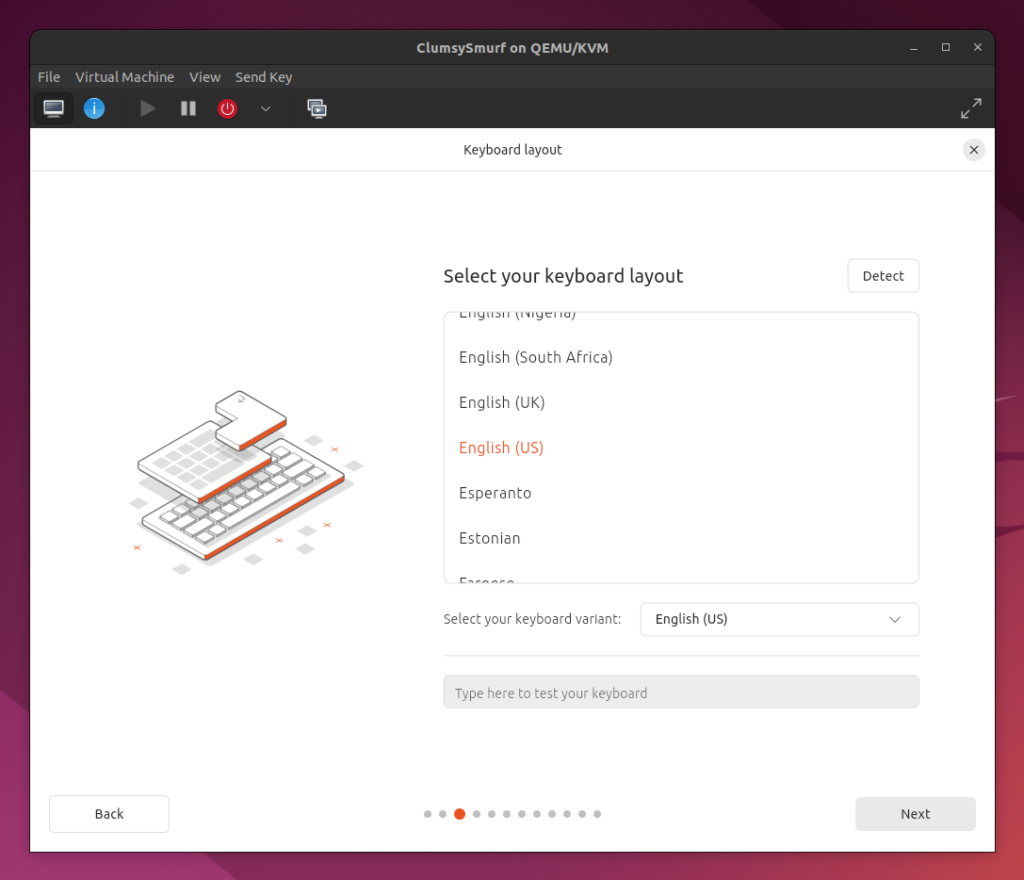
Step 9: Select your keyboard layout and click Next
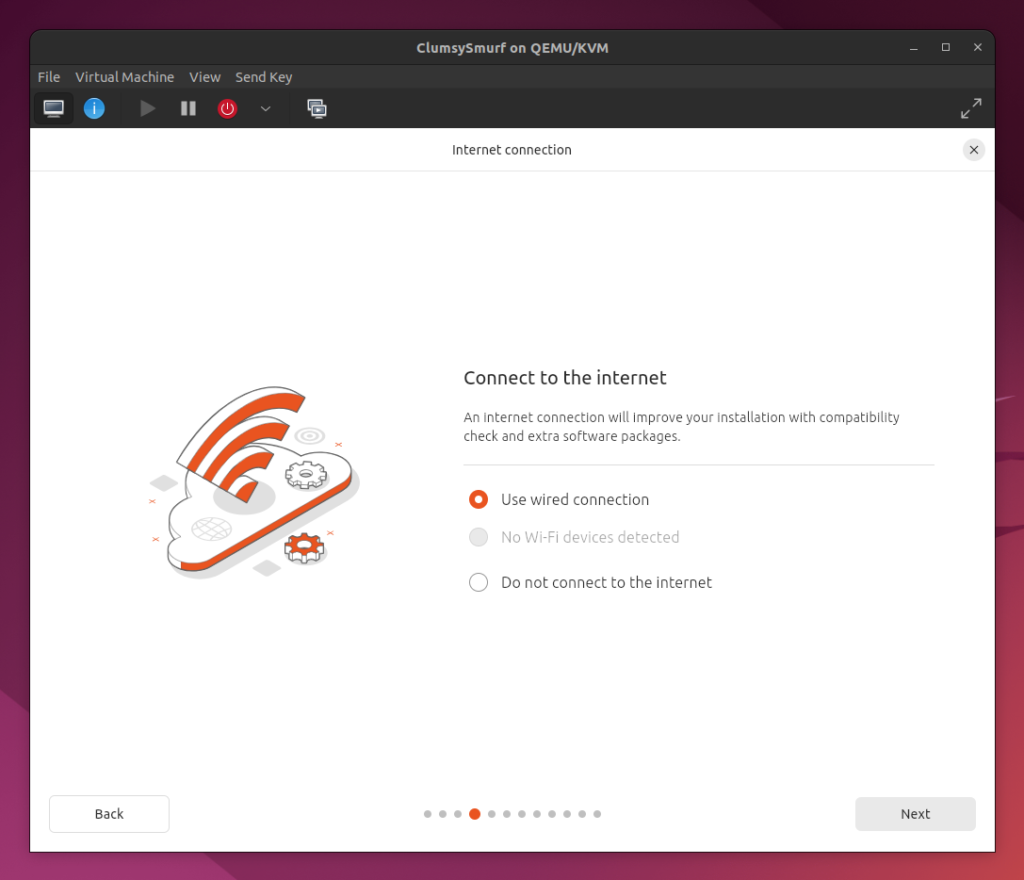
Step 10: Connect to the internet and click Next
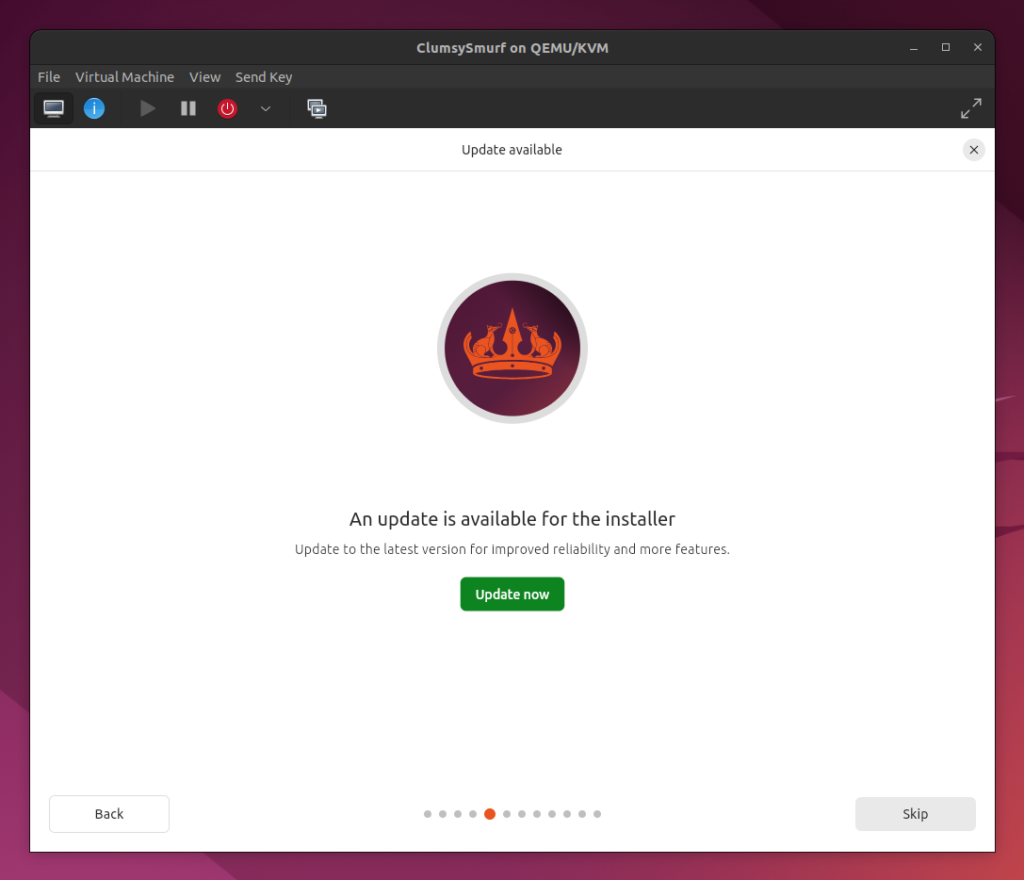
Step 11: An update is available for the installer, click Update Now
You may get this screen if there are updates available.
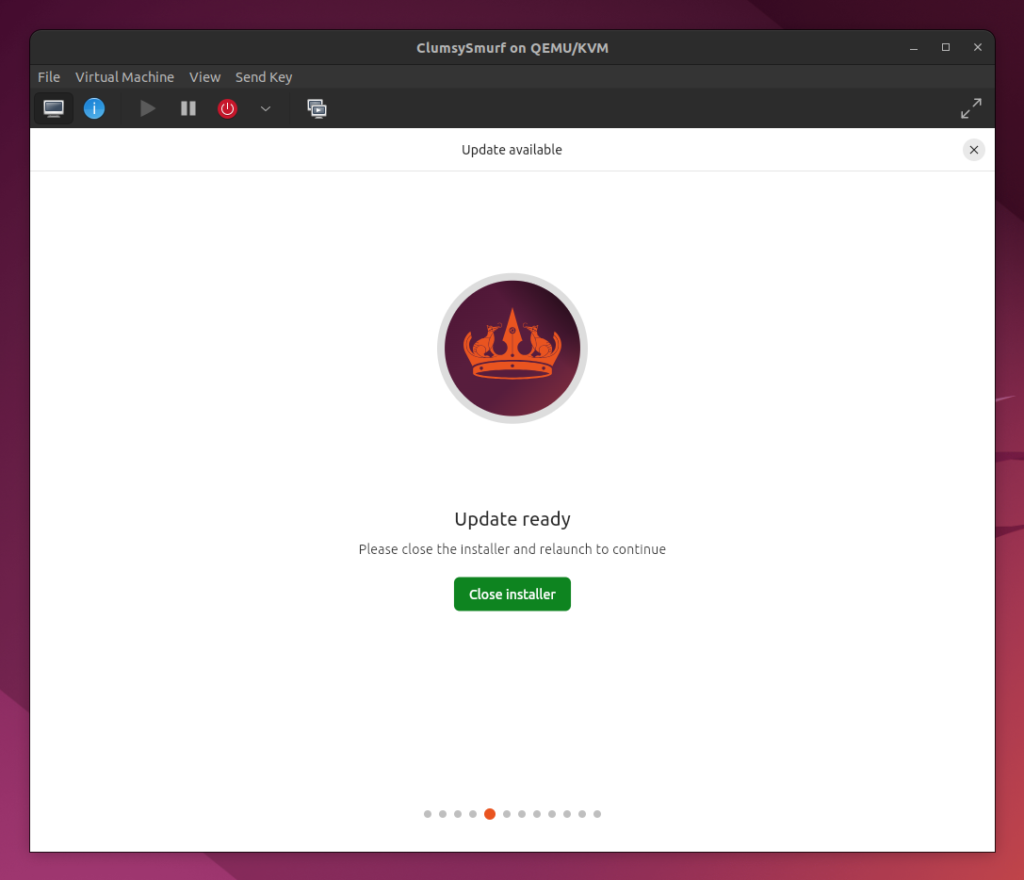
Step 12: Update ready, click Close Installer
Step 13: Run Installer by clicking on the Install Ubuntu desktop link
Step 14: ReRuns, if you needed to update the installer
It will take you back from Step 7 to Step 10 until this next screen where you can carry on
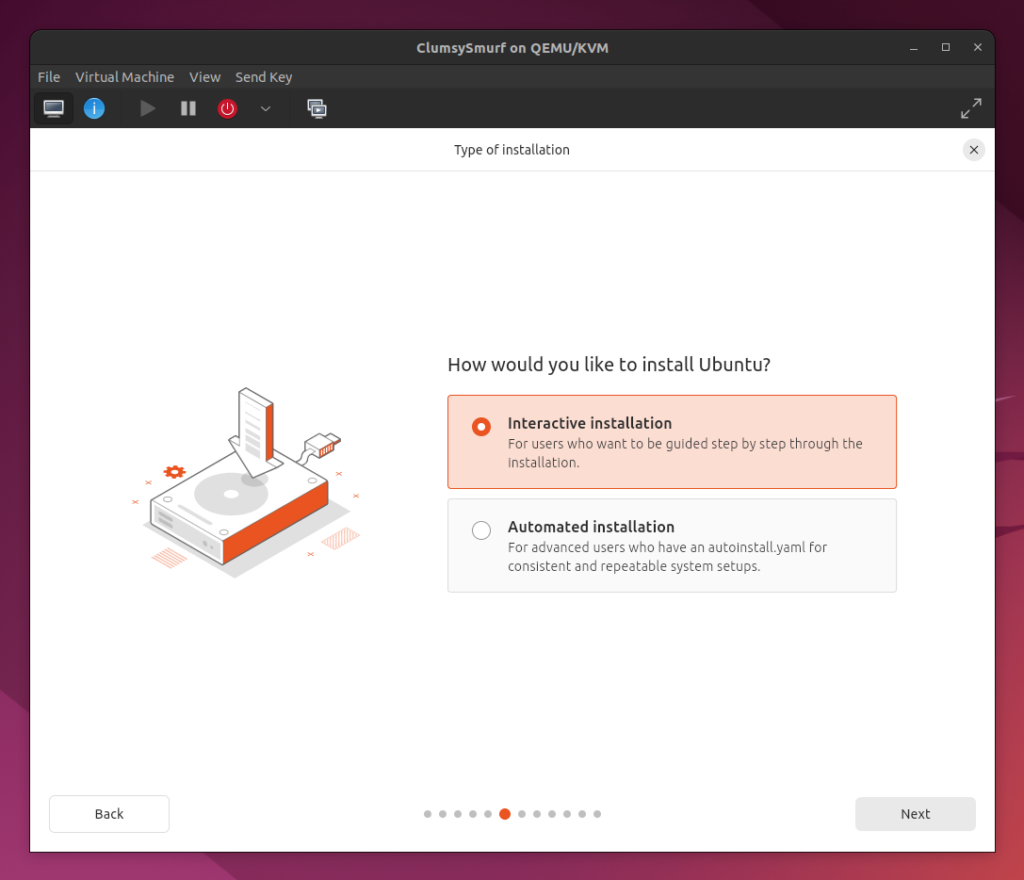
Step 15: Type of installation and click Next
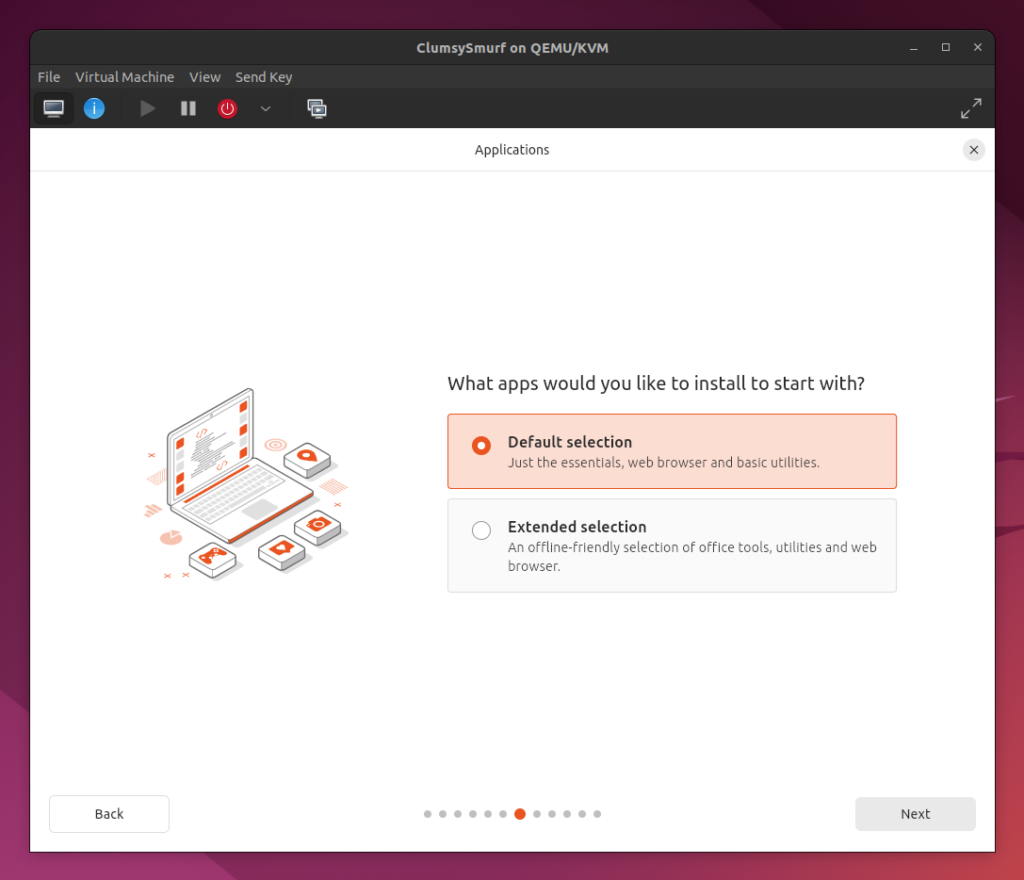
Step 16: Choose Applications to install and click Next
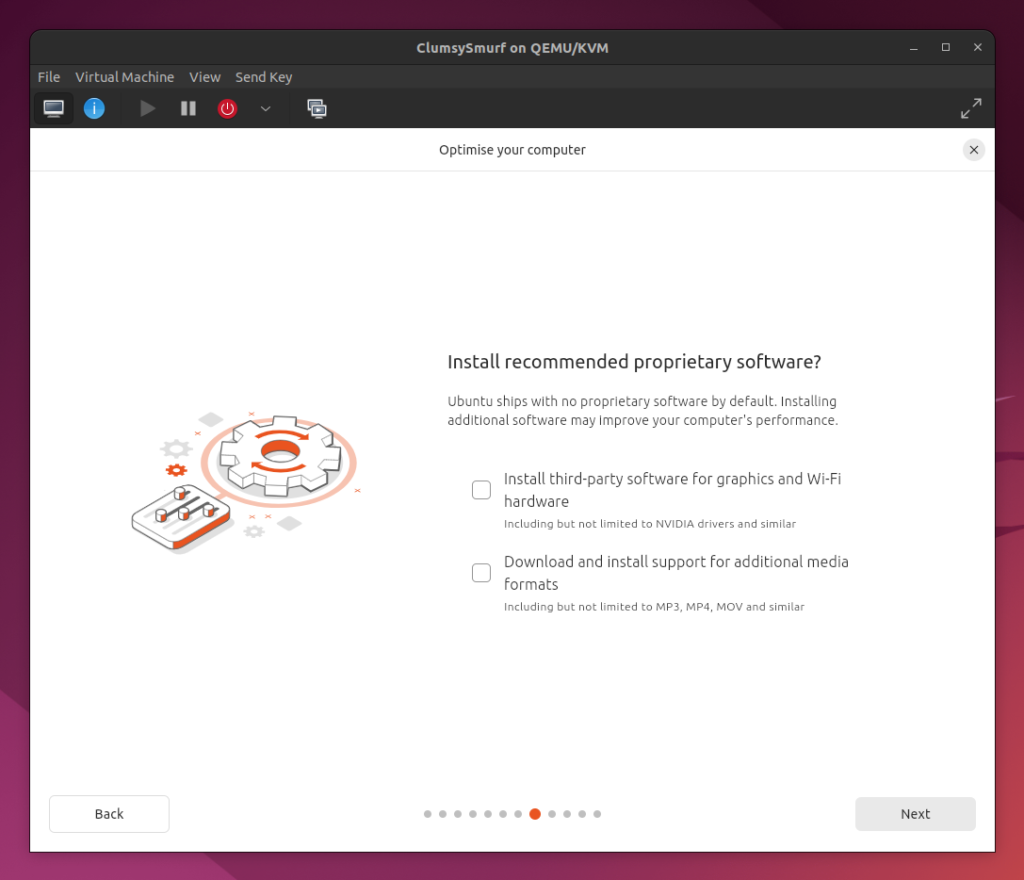
Step 17: Install recommended proprietary software and click Next
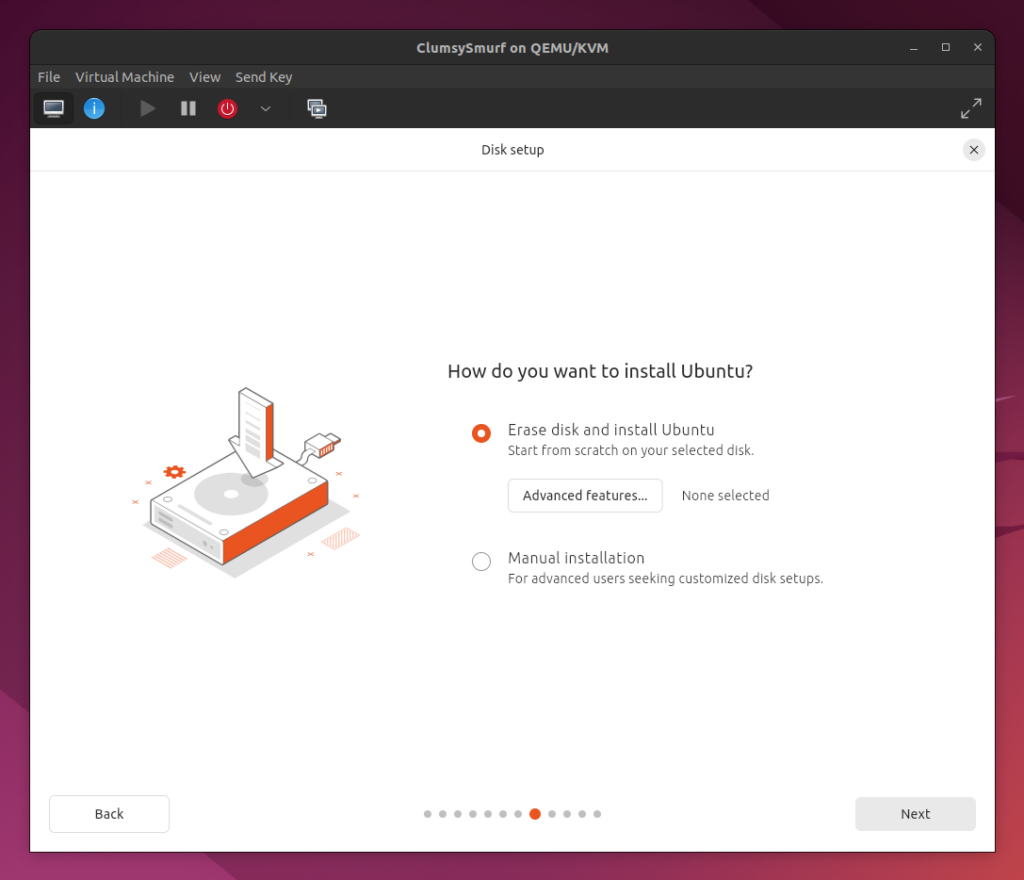
Step 18: How do you want to install Ubuntu?
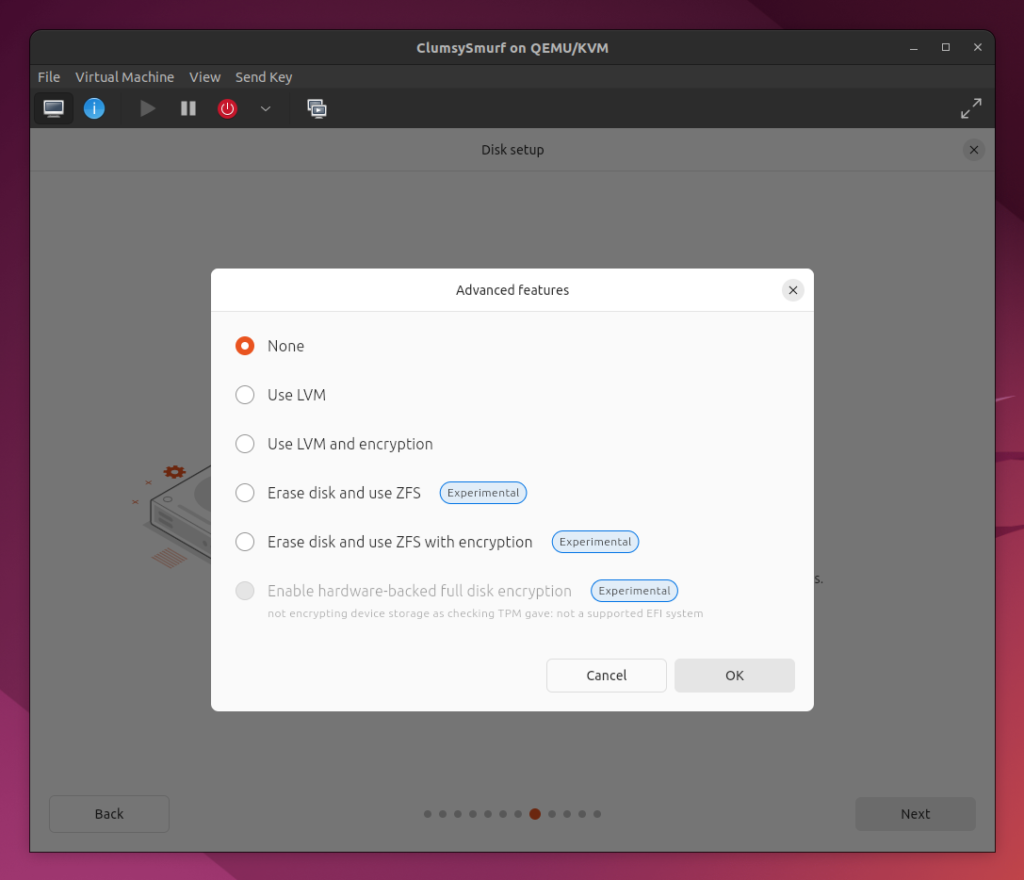
Step 19: Advanced features and click OK
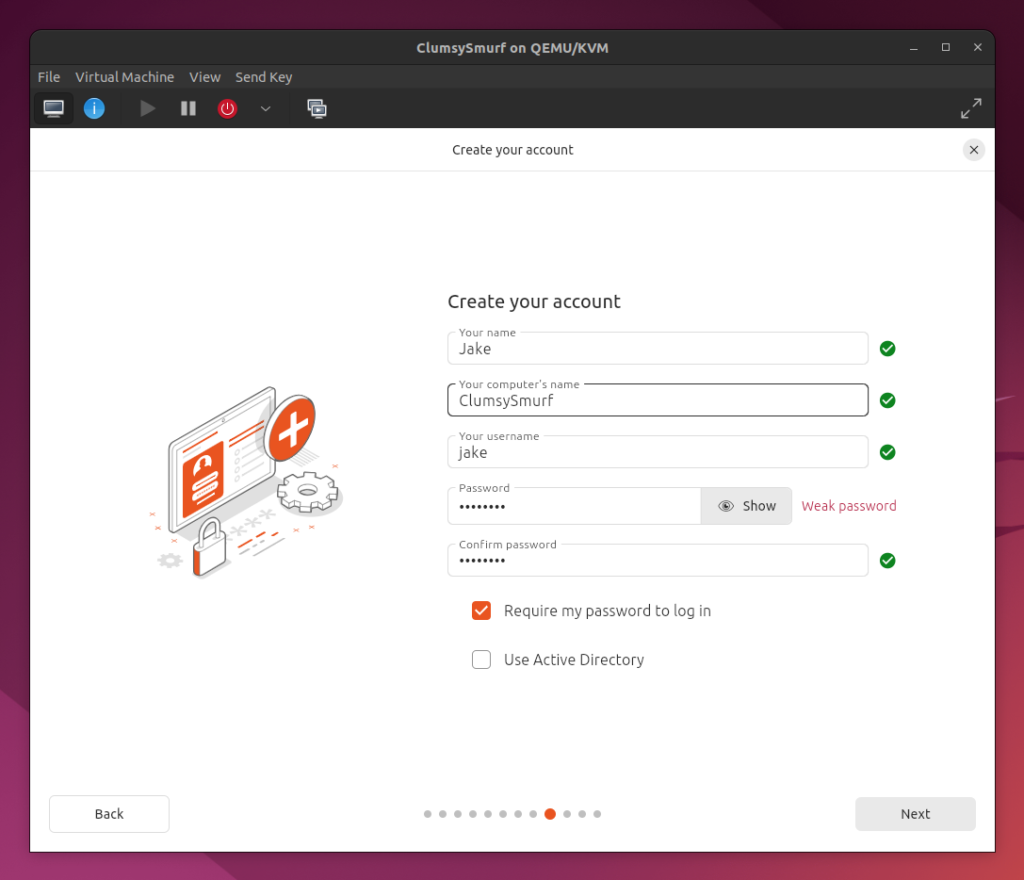
Step 20: Create your account and click Next
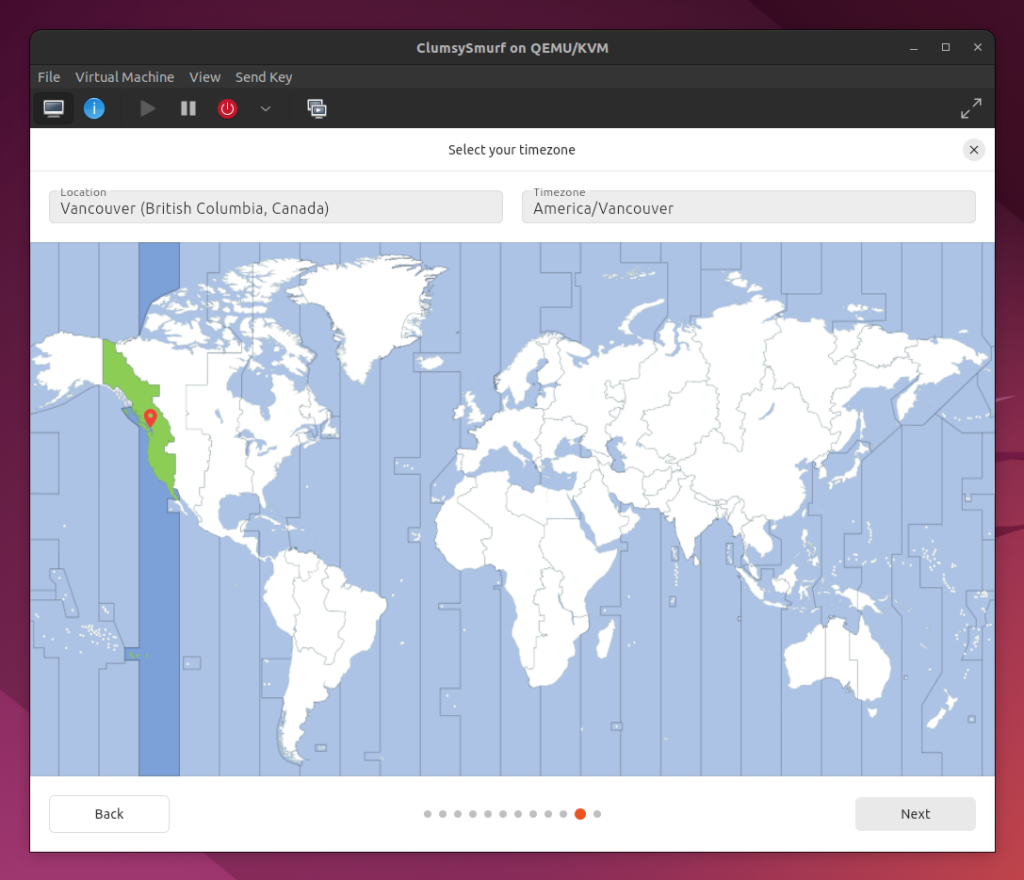
Step 21: Select your timezone and click Next
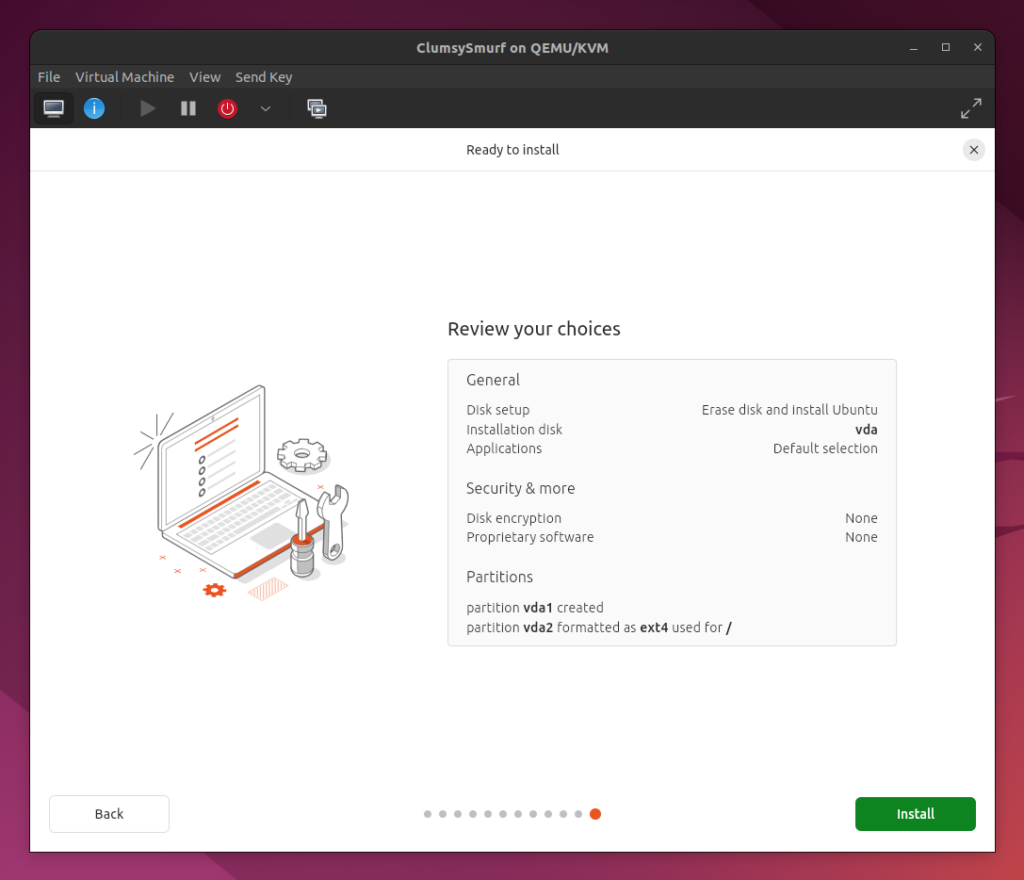
Step 22: Review your choices and click Next
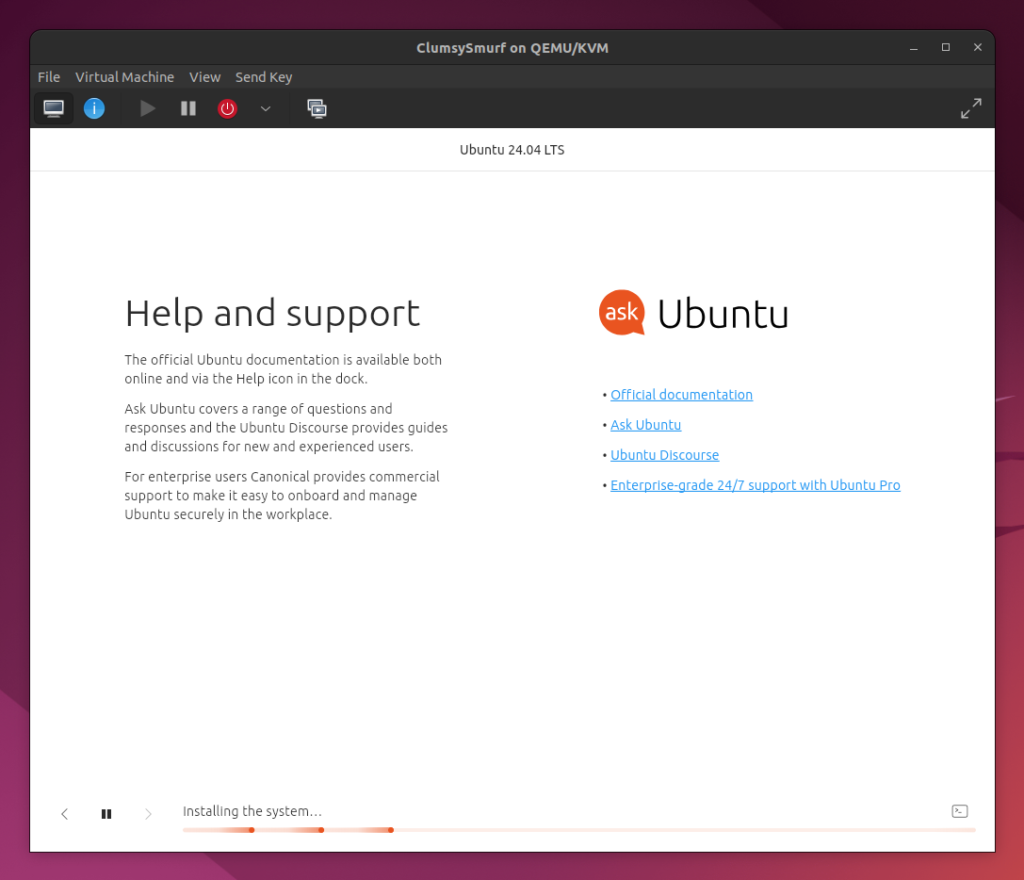
Step 23: Ubuntu will start installing onto the Virtual Machine
Time to grab a coffee!
The Ubuntu installation takes anywhere from 5 to 60+ minutes to install, dependent upon the speed of your Internet connection (for downloading dependencies and updates) and your localhost’s computer specs.
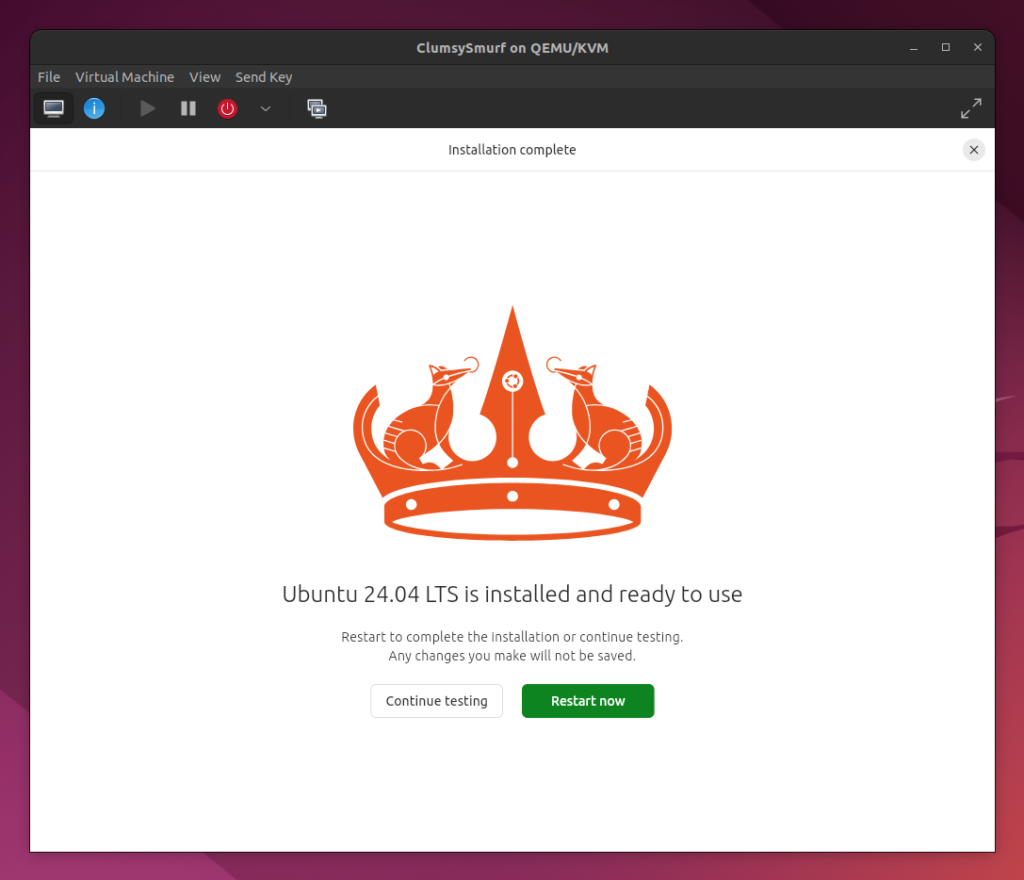
Step 24: Installation complete! Click Restart Now
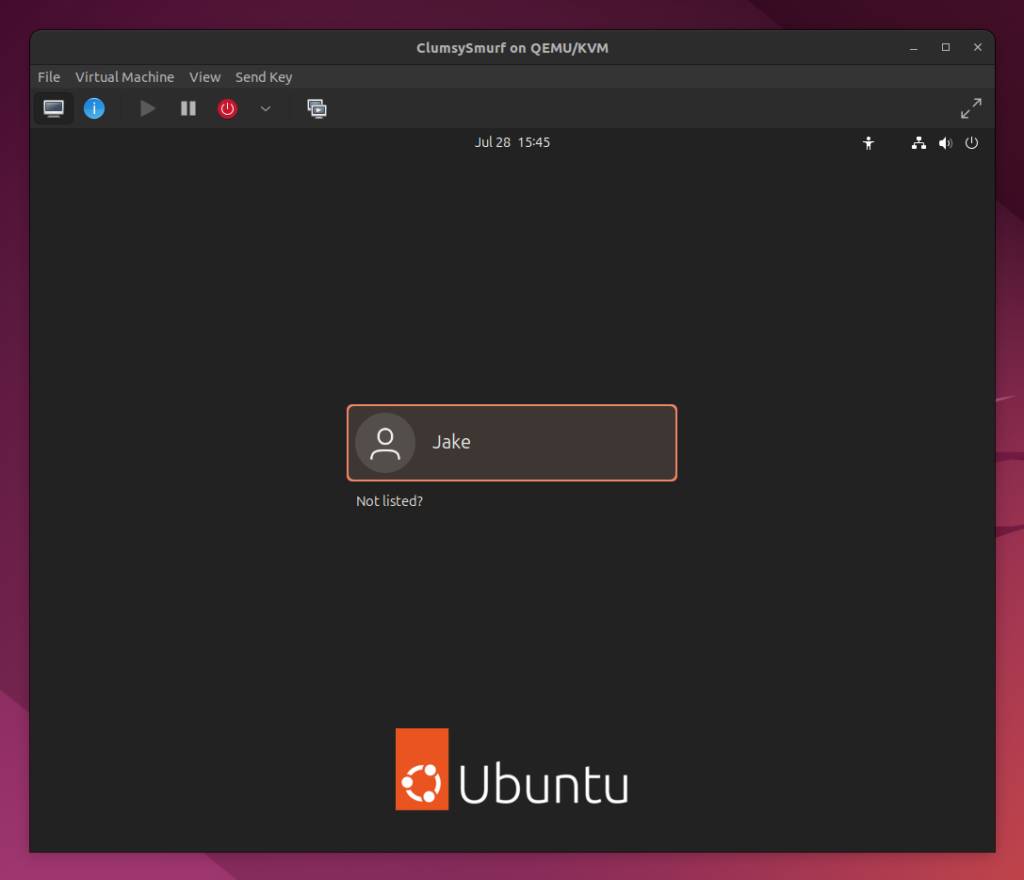
Step 25: Login to Ubuntu with the account you created!
Step 26: Welcome to Ubuntu Screen and click Next

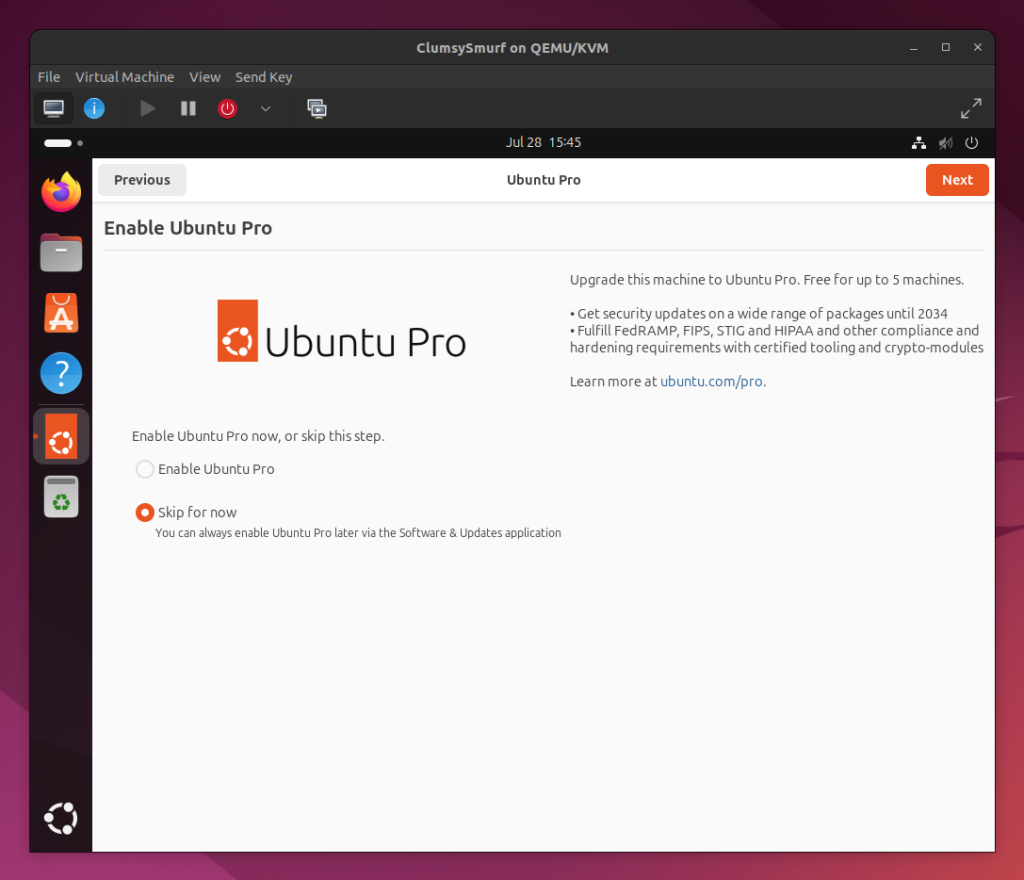
Step 27: Ubuntu Pro and click Next
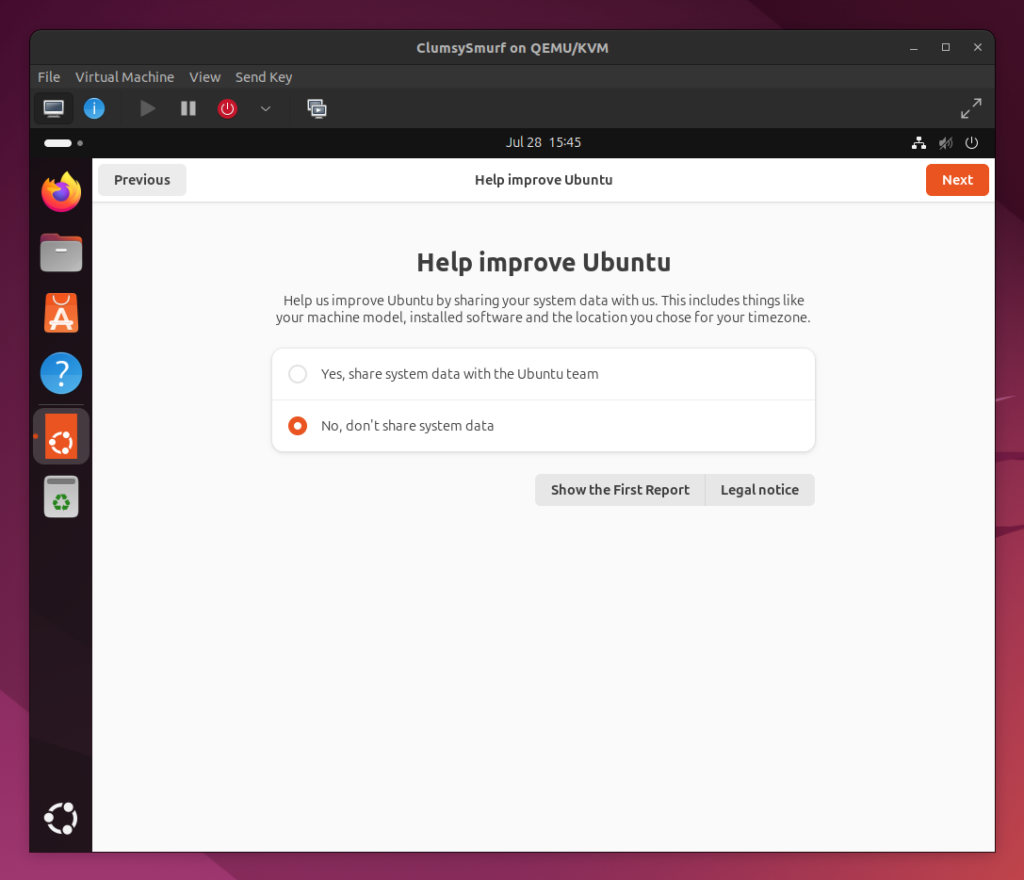
Step 28: Help improve Ubuntu and click Next
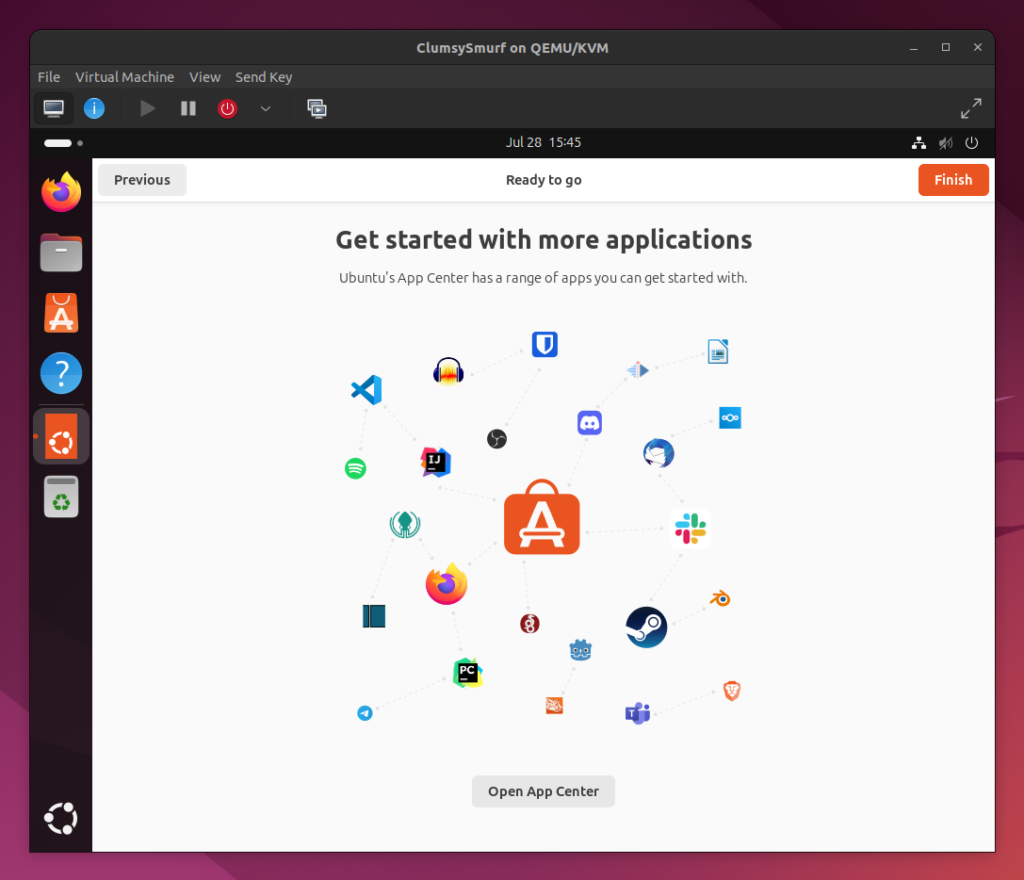
Step 29: Getting started with more applications and click Finish!
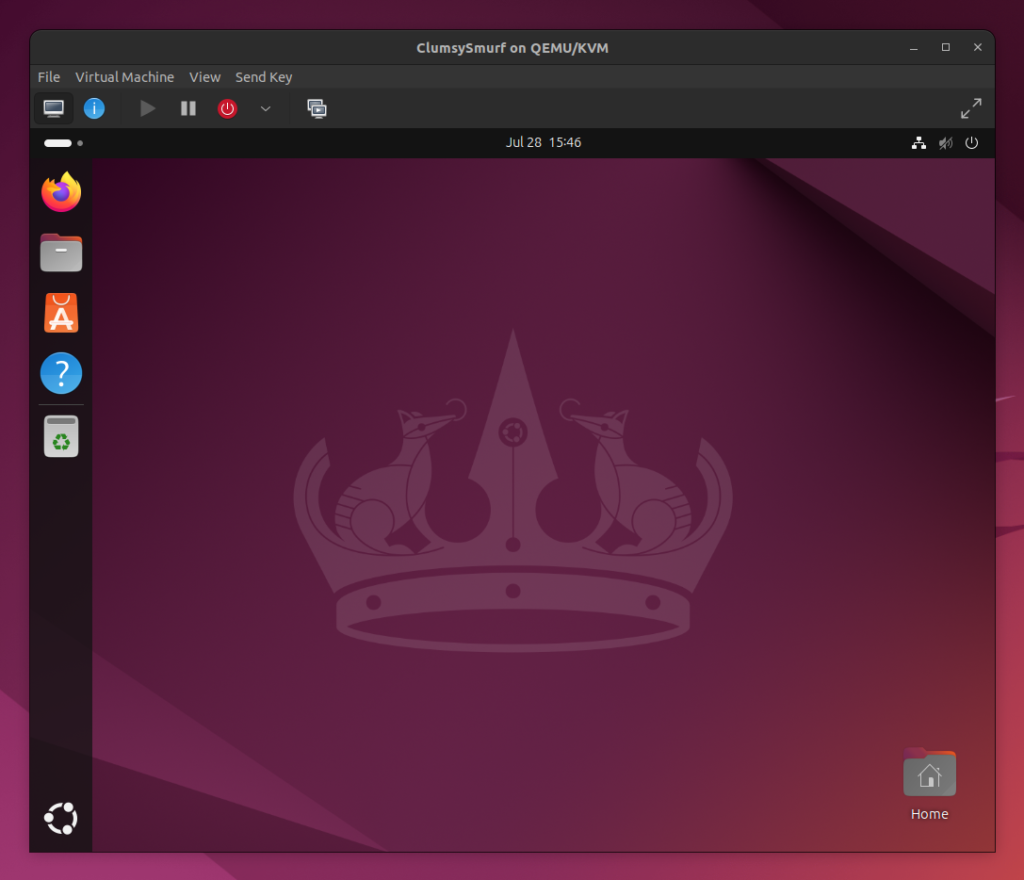
Step 30: Freshly installed Ubuntu Desktop! And Go make amazing things!
Notes:
The apt-get command-line tools:
apt-getis the command-line tool for handling packages, updating packages, and installing patches for Ubuntu Linuxsudo apt-get updatedownloads and updates the list of packages from their repositoriessudo apt-get upgradeinstalls the latest updates for your packages